Showing posts with label Self-Sufficient. Show all posts

Friday, May 2, 2014

Possum Living - A Book Review


Dolly Freed wrote Possum Living in the 1970s when she was a young woman.  The book details her adolescent life where she and her father used almost no money.  They survived on the food they caught and grew.  Surprisingly, she and her father were able to do this while living in suburbia on a very small plot of land.  They were able to keep up the appearance of relative normalcy to the outside world while keeping up a high and enjoyable standard of living.  This book is equal parts "how-to" and story telling with a bit of Philosophy included.  

There were a lot of great tips and thoughts from the book such as: Buying your grain whole sale from a feed mill ( I have not tried, but may in the future). And a lot of the things her family did was very time intensive.  However, she and her father would rather spend time doing things such as cleaning fish or gardening than in a job.  There were also some less than idealized parts of the book.  Her father (and presumably Dolly) would fish out of season, or take "justice" into their own hands.  The book outlines her reality, and while I don't like these parts of her reality, I appreciate that she included it in her story.  Later in her life, she wrote a forward to the book.  She states that she regrets and does not condone much of the unscrupulous activity about which she wrote.  

I recommend this book to anyone wanting to be more self-sufficient.  It was enjoyable and inspirational, even if I found some ideas less than moral.  I got this book from the library, but would actually like to add it to my home library at some point in time.

Thursday, April 24, 2014

Volunteer plants

Spring is here!! and with it comes so much joy and possibility.

We've been in our house for over a year, and last year in Spring we were surprised with lovely volunteer Peach Tree:


Right now, it's beautiful. 


So we get beauty in the Spring, and delicious sweet peaches later in the Summer.  Last year, we were surprised by this sweet nutritious treat.  This is why planting fruit trees is so much better than those silly ornamental trees.  While ornamentals are beautiful in Spring, I can't add their fruits to my yogurt.

I have discovered other volunteers around our property, especially in my garden.  I threw most of my kitchen scraps directly in my garden to feed the soil and the earthworms (this was a pre-chicken time in our life).  This spring I got several wonderful surprises.  The first being celery:


This really shocked me.  I don't know if this is going to be edible, but I'm going to wait until it matures to find out.    

I also found garlic growing in my garden.  I can't wait to dig into this:


I also found some lose garlic bulbs starting to sprout in my compost pile.  I decided to plant these composting bulbs.  About 75% of the bulb wilted and died in the ground.  The other 25% are taking off.  


Taking into consideration that I paid nothing for any of this, and I thought this would be worm food, I am beyond thrilled.  All this is so exciting and one of the reasons I love spring and all of the surprises and presents mother nature has for us.

Thursday, April 10, 2014

Carrots Love Tomatoes - A book review

Several years ago, when I began my backyard garden, I bought myself Carrots Love Tomatoes.  


This book outlines which veggies (and sometimes fruit) to plant together.  This is called companion planting.  The idea is that different types of plants in close proximity can benefit each other.  For example, planting your carrots near onions and leeks is beneficial for the carrots since the onions and leeks act as a repellent to the carrot fly.  

A gardener can also gain a higher yield per acre by integrating plantings instead of abiding to a mono-cultural method (i.e. rows and rows of carrots, followed by rows and rows of beets).  Planting rows which contain a kohlrabi - beet - kohlrabi pattern benefits both crops.  They both do best in the same type of soil and pull their nutrients from different levels.  Anytime you diversify your crops, you make it harder for critters to take out your entire patch.  

If there is a worm that just loves cucumbers, he and his buddies can easily demolish one plant, but if the next plant is a distance away from the one he destroyed, he must figure out how to get over to the new cucumber plant.  Chances are he won't make it the entire way, and your other plant is safe.  Or you have time to take protective measures.  But if all of your cucumber plants are close and hanging out together, it will be that much harder to save your plants.

The book also discusses which plants are detrimental to each other.  As well as the different ways to cope with certain diseases and pests and basic descriptions of each plant.  While this book is not exhaustive (and therefore NOT overwhelming), the array of plants it covers varies from vegetable and herbs to nuts and wild plants.  There are also chapters on gardening techniques, garden plans and pest control.  

This book is a wonderful resource that I have by my side when I'm planning my garden. Although of this information is easily accessible via the internet, having a small, easy to read book (that won't break if it get's wet or dirty) by your side makes life a lot easier.  I would recommend this book and have used it often and will continue to use it over the years. 


Wednesday, April 9, 2014

Beautiful Shelf (for FREE!)

My husband is quite the talented fellow.  I talked earlier about how he built our chicken coop for under $50 using re-purposed materials.  Well, now he's at it AGAIN.  He used those same scraps from the local soda company.


The corners of these are held together with brackets, so he took his table saw to cut them out.  The remaining pieces are the boards he used to make my shelf.


He did his magic, like he does and produced this beautiful and rustic shelf.


The details from how it went from boards to the shelf is a little fuzzy for me.  Perhaps, if we get enough interest, I can get my talented husband to be a guest blogger and describe how he did this. 

We decided not to sand or paint anything.  We really like the rustic look this shelf has.  But if you prefer a more finished look, you can always sand and paint as desired.


Tuesday, April 8, 2014

Winter Happenings and Spring Awakening

This winter was long, cold and snowy.  I am so relieved to be at the other end enjoying Spring and all of Spring's possibilities.  The growing season, the building season, the play outside, eat outside season.  This season fills me with hope and happiness.

This winter was hard on the surrounding wildlife.  Towards the end, we saw deer in our backyard every evening.  Some nights we would count up to ten deer.  At first it was neat, but then they started to eat our freshly planted trees, and rip up the yard.  They must have been getting very hungry and desperate.  Overall, it was very neat, and now we have huge cages around the trees.  There were so many deer, that when you visit our backyard, you must be careful where you step.


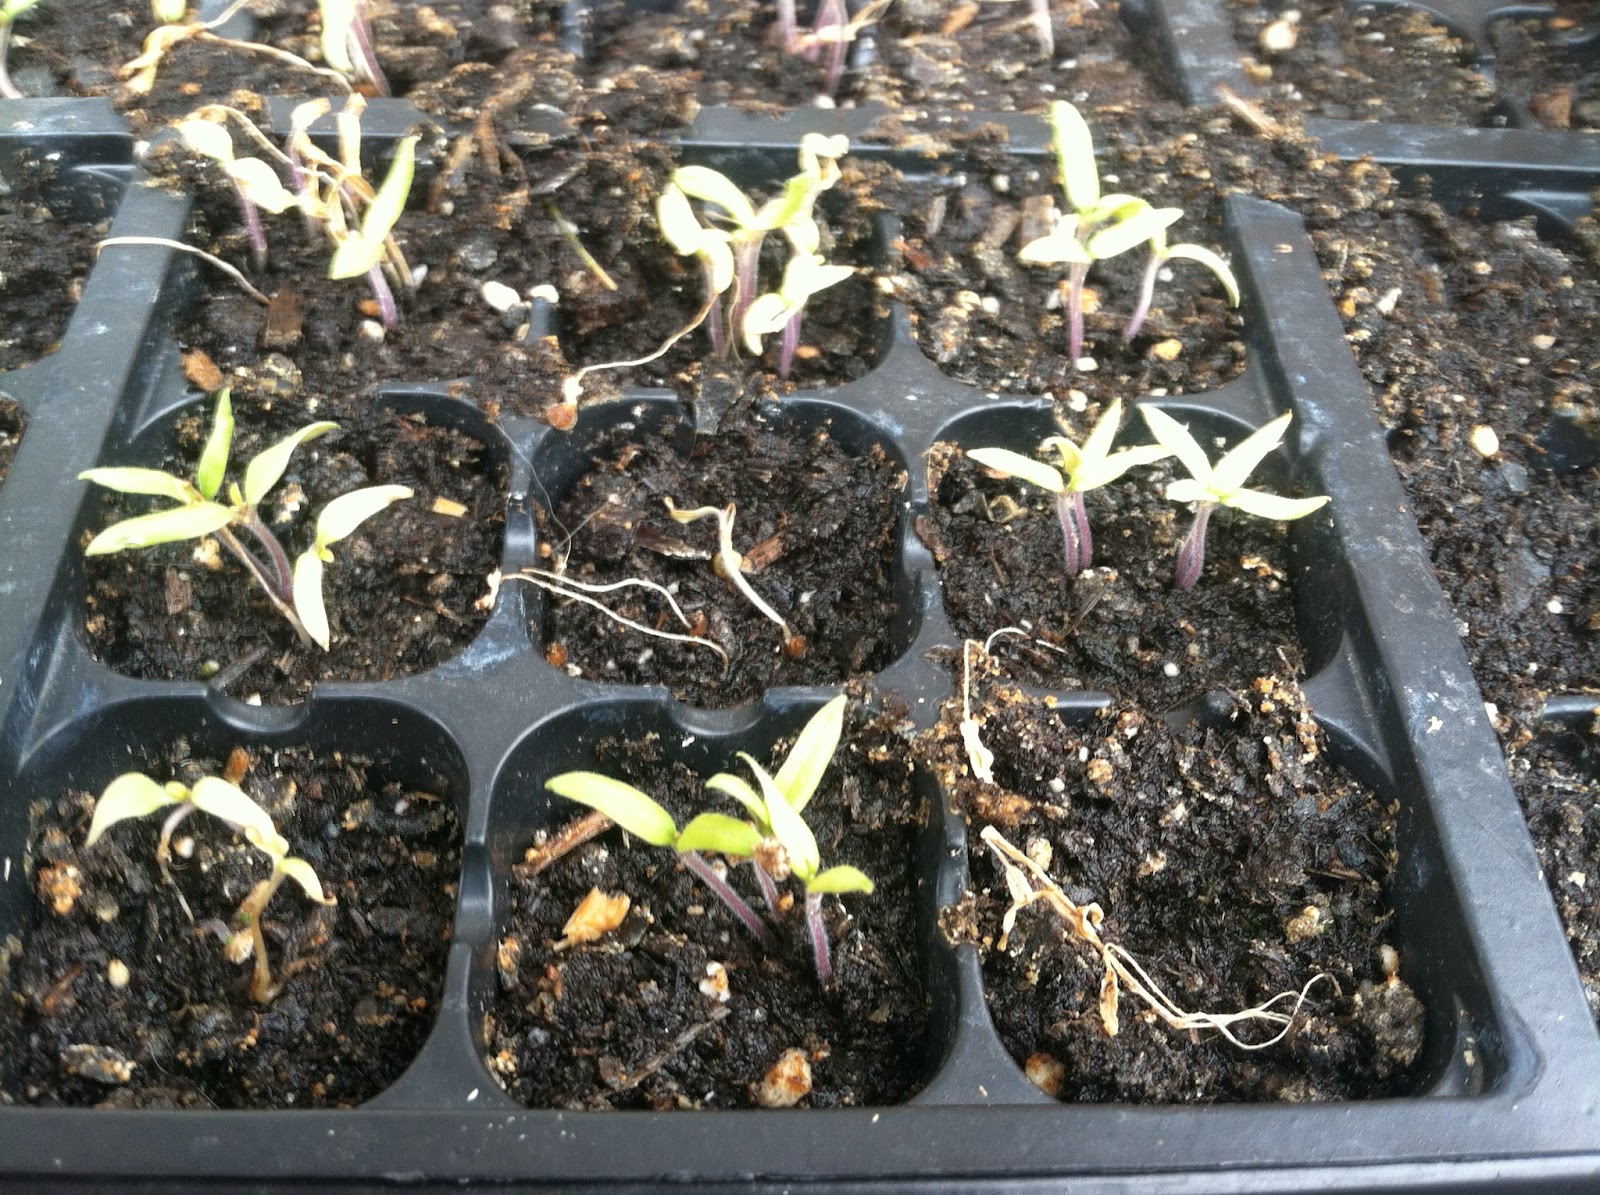
A few weeks ago, I started my tomato seeds and brussel sprouts.  I was very excited to see how the tomato seeds germinated, since these were the seed I'd saved previously (Saving tomato seeds).

They did very well.  They germinated better than the store bought seeds.  Unfortunately, I didn't have any grow lights set up, so my tomatoes are limping along right now, but suspect I'll have nice amount of started tomato plants for myself, just not enough to share like I usually do.


I also started stevia and mint.  I know mint is quite a prolific plant once it is started, but it is a bit of a challenge to start it.  Both of these seed are very fine, and need to only go on the surface of moist soil.  The germination rate seems to be low, but I am very excited to have my very own stevia plant.

At the end of March I planted my cold weather vegetables.  I  have peas, carrots, beets, spinach and onions all in the ground.  The spinach is starting to show some green leaves. In a few weeks, I will no longer be paying $6 for a pound of organic spinach at the grocery store.

My chickens are doing well (most of them).  They are all laying.  We are now getting brown, blue and small white eggs.  And we are getting enough to give some away!  It's all very eggs-citing.  (Geez! sorry about that one, I couldn't help myself!)


As I alluded to earlier, Most of my chickens are doing well.  One is no longer with us.  Beatrice, our White Sultan, was killed.  We aren't sure what happened to her.  I think she may have been attacked by the other chickens.  While it is sad, this is what happens when you have any animals.

So slowly but surely, our piece of land is coming alive.  The grass is greener and the chickens are happier.  All is well.


Monday, April 7, 2014

Ode to the Dandelion

When most folks picture a beautiful lawn in spring time, they picture beautiful green grass with flowers tastefully decorating a few flower bed.  Since we are into simplicity, when I say some thing is tasteful, I generally mean in my mouth, not so much to my eyes.


One of the most tasteful things in my lawn is the beautiful dandelion.  I'm not sure why folks have such a strong dislike of the dandelion.  Aside from the fact that we are told dislike it, it is quite a pretty plant.  The flower is a beautiful happy yellow which turns into a cloud-like bunch of fluff which are ideal for wish making.  Children pick them and give them to their mothers.  And I find them to be aesthetically pleasing.


But they are so much more! In the beginning of spring, when the greens are still tender, you can pick them and eat them as an addition to a salad.  They have a bit of a bitter taste, but the younger you pick them the sweeter they are.  There is a traditional meal in the Pennsylvania Dutch region, that I used to abhor as a child, but with more grown tastes, I enjoy now.  You can enjoy with hot bacon dressing: Hot Bacon Dressing Salad Recipe

The Dandelion greens have phenomenal nutritional density.  They are: high in calcium, high in fiber, a great source of minerals, yummy, and cheap (free) in you yard.  One man made over $900 selling this "weed" he harvested from his garden to fine dinning establishments.

The yellow flowers are more than just pretty, they can be transformed into wine! This link will take you to a great instructional video on how to make this.  

We're not done with all the wonders of this plant (which some call a weed).  The roots are useful, too!  They make a coffee substitute.  You harvest them and roast them and grind them up to use as tea.  I have not tried this, as harvesting the roots is a lot of work, and I like to use all of other parts of the dandelion so much, I don't see the use.

Finally, they are awesome for your soil.  That long, thick root which seems impossible to remove fully from the ground helps break up compact soil.  It brings nutrients that are deep in ground up to the leaves.  When the leaves die, these nutrients are now at the top of the surface, more accessible to the surrounding plants.  Dandelions are an ideal companion plant in you garden.  I wouldn't plant any, but I would let few flourish to help feed the soil.

When I look at the yellow heads popping up in my yard in Spring, I don't get mad or reach for the weed killer.  I lick my chops for the free greens, give thanks for the beautiful flowers and smile to myself knowing that my lawn is getting healthier naturally.


Monday, December 16, 2013

Laundry Detergent

Laundry Detergent is so expensive.  Especially when you have cloth diapers to do.  Daily.  Thankfully, it is super easy to make your own.  It took me about 45 minutes to make 5 gallons of Laundry Detergent.  I think it cost me less than $7. Pretty amazing savings.

Here are the ingredients you need:


Rules of 2:
2 cups of Borax
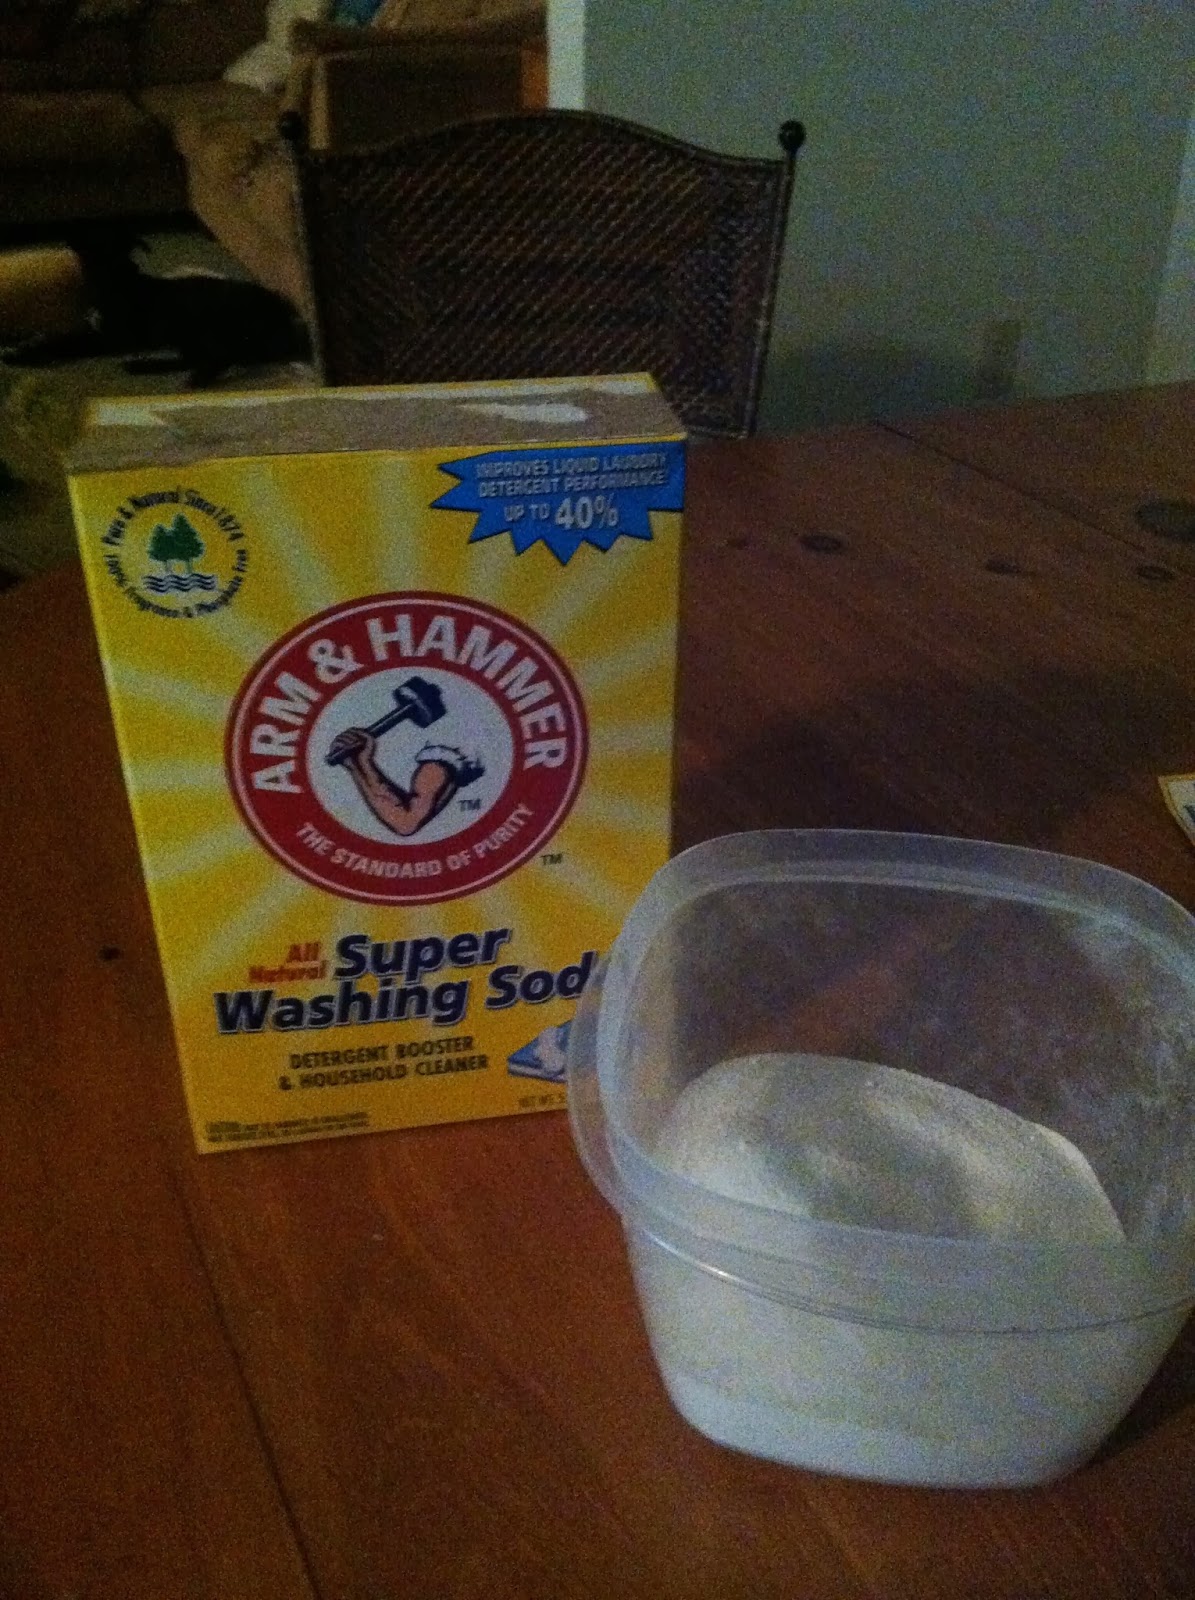
2 cups of Washing Soda
2 bars of Ivory soap (you can also use Fels Naptha, only use one bar)

You also need a bucket (of the 5 gallon variety):


First, Grate the soap.  You can use your food processor.  I did this while Jaxson was sleeping, so I grated this by hand:


I grated it directly into a pot. This save a step and a dish.  It's all about keeping it simple.


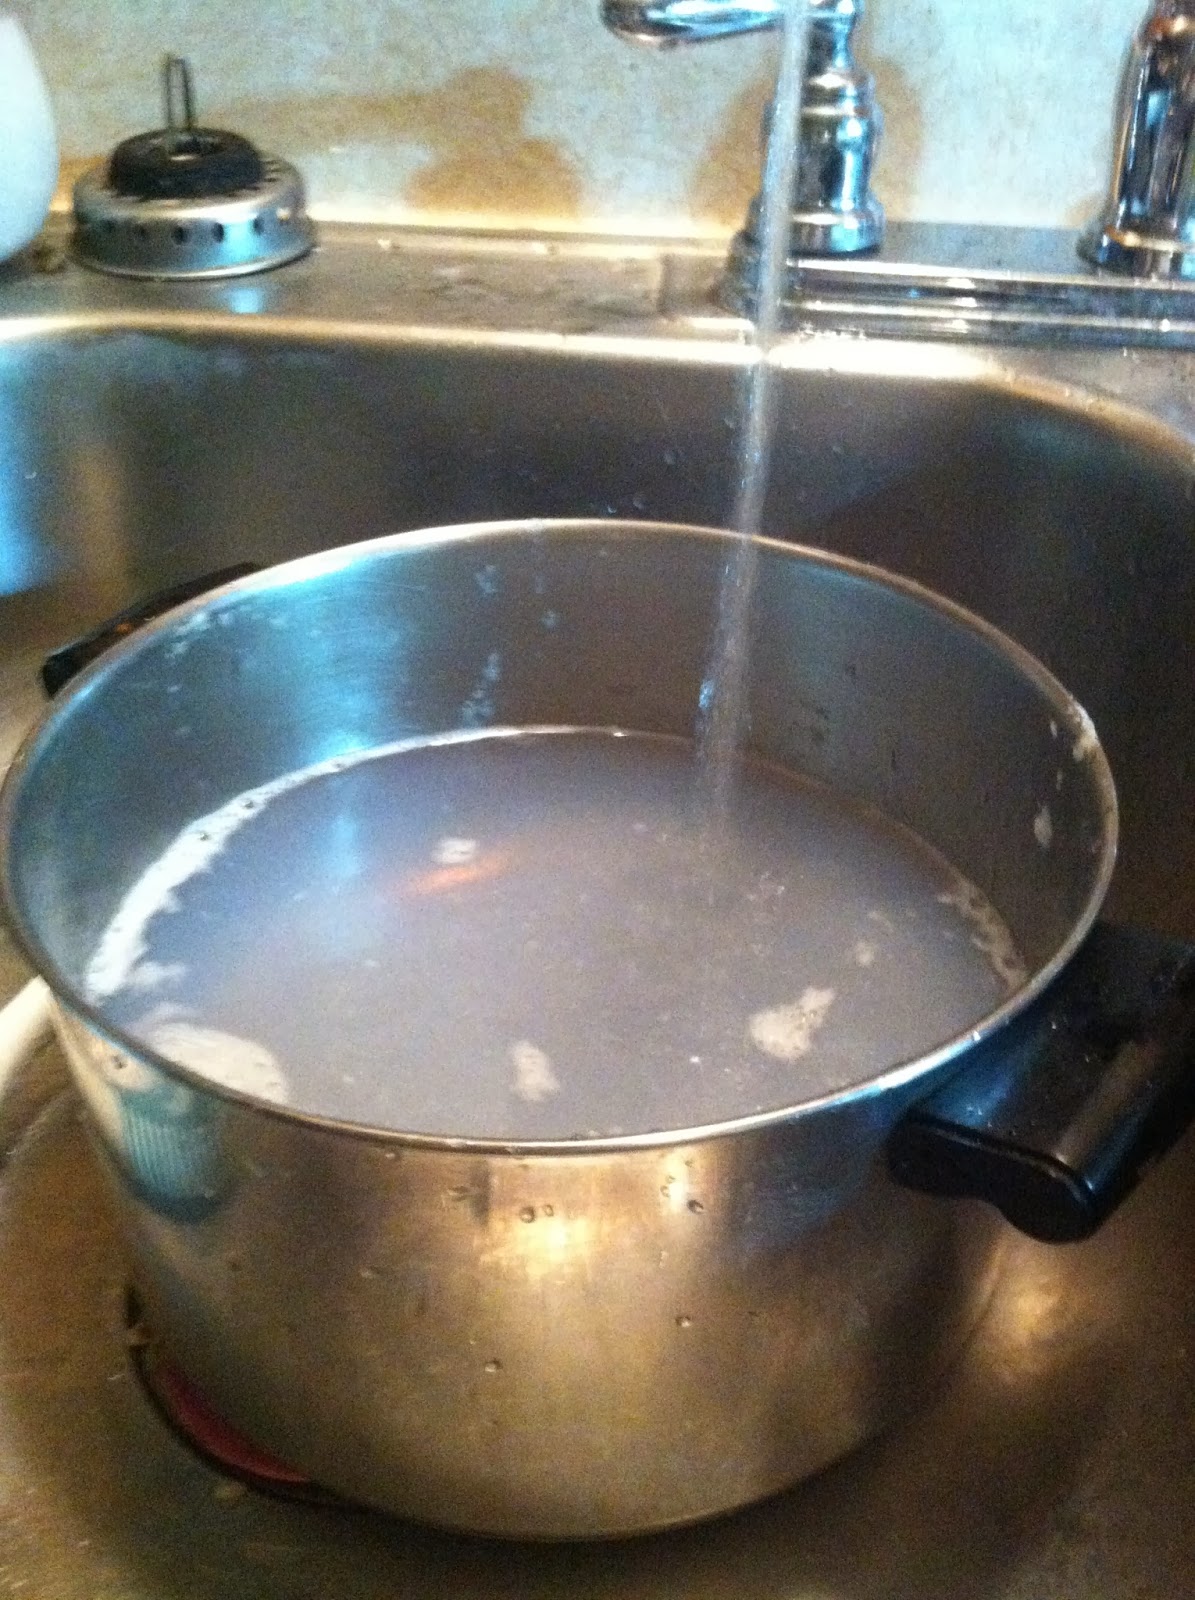
Cover the soap with water and bring to a gentle boil over low to medium heat.  Continue heat until the soap dissolves in the water.  Keep stirring so you don't burn the soap.  Another helpful hint, make sure you are using a large enough pot. I speak from experience: too small a pot and  it will boil over leaving an icky mess to clean up.  This is not simple.  


In your bucket, dump in the 2 cups of borax 


And two cups of the Super Washing Soda:


Dump in your liquefied soap.  Continue to add hot water to the bucket, using a whisk to stir as you go.  My sink has water that is hot enough to make this work.  Some may need to boil water.  You need it hot enough so that it is uncomfortable to put your hand in, but it won't burn you.
  

Fill this to the top.  Another helpful tip: Since you need to rinse out that pot, and you need to fill up your bucket, why not fill up the pot with hot water and dump that in your bucket? That's what I did, at least. A little two-for-one action.


Once that is filled and whisked you have your finished product:


Now we have a problem.  This is one heavy bucket.  Enter attractive man (AKA my husband, Chris) to carry it down to the washer.  


We store it using Aluminum foil as a lid.  I'm sure that there are more elegant solutions, but this is solution works for us.  When using it, you can fill up a regular detergent cup.  I would think its about half a cup.  Less works too.  

You may need to play with the amounts of ingredients depending on the hardness of your water.  You may also find that more or less detergent is needed for your needs.  


Monday, December 9, 2013

Homemade Peanut Butter

You can buy peanut butter in two ways at the grocery story, all chemically with added oils, salt and sugar.  Or you can buy the natural stuff.  It's $5 a jar and has some weird oil on top.  I actually don't mind the oil, but for about $2, you can makes your own.  You can add as much or as little salt in as you like. It is so easy.  I'm a little embarrassed to even post it.

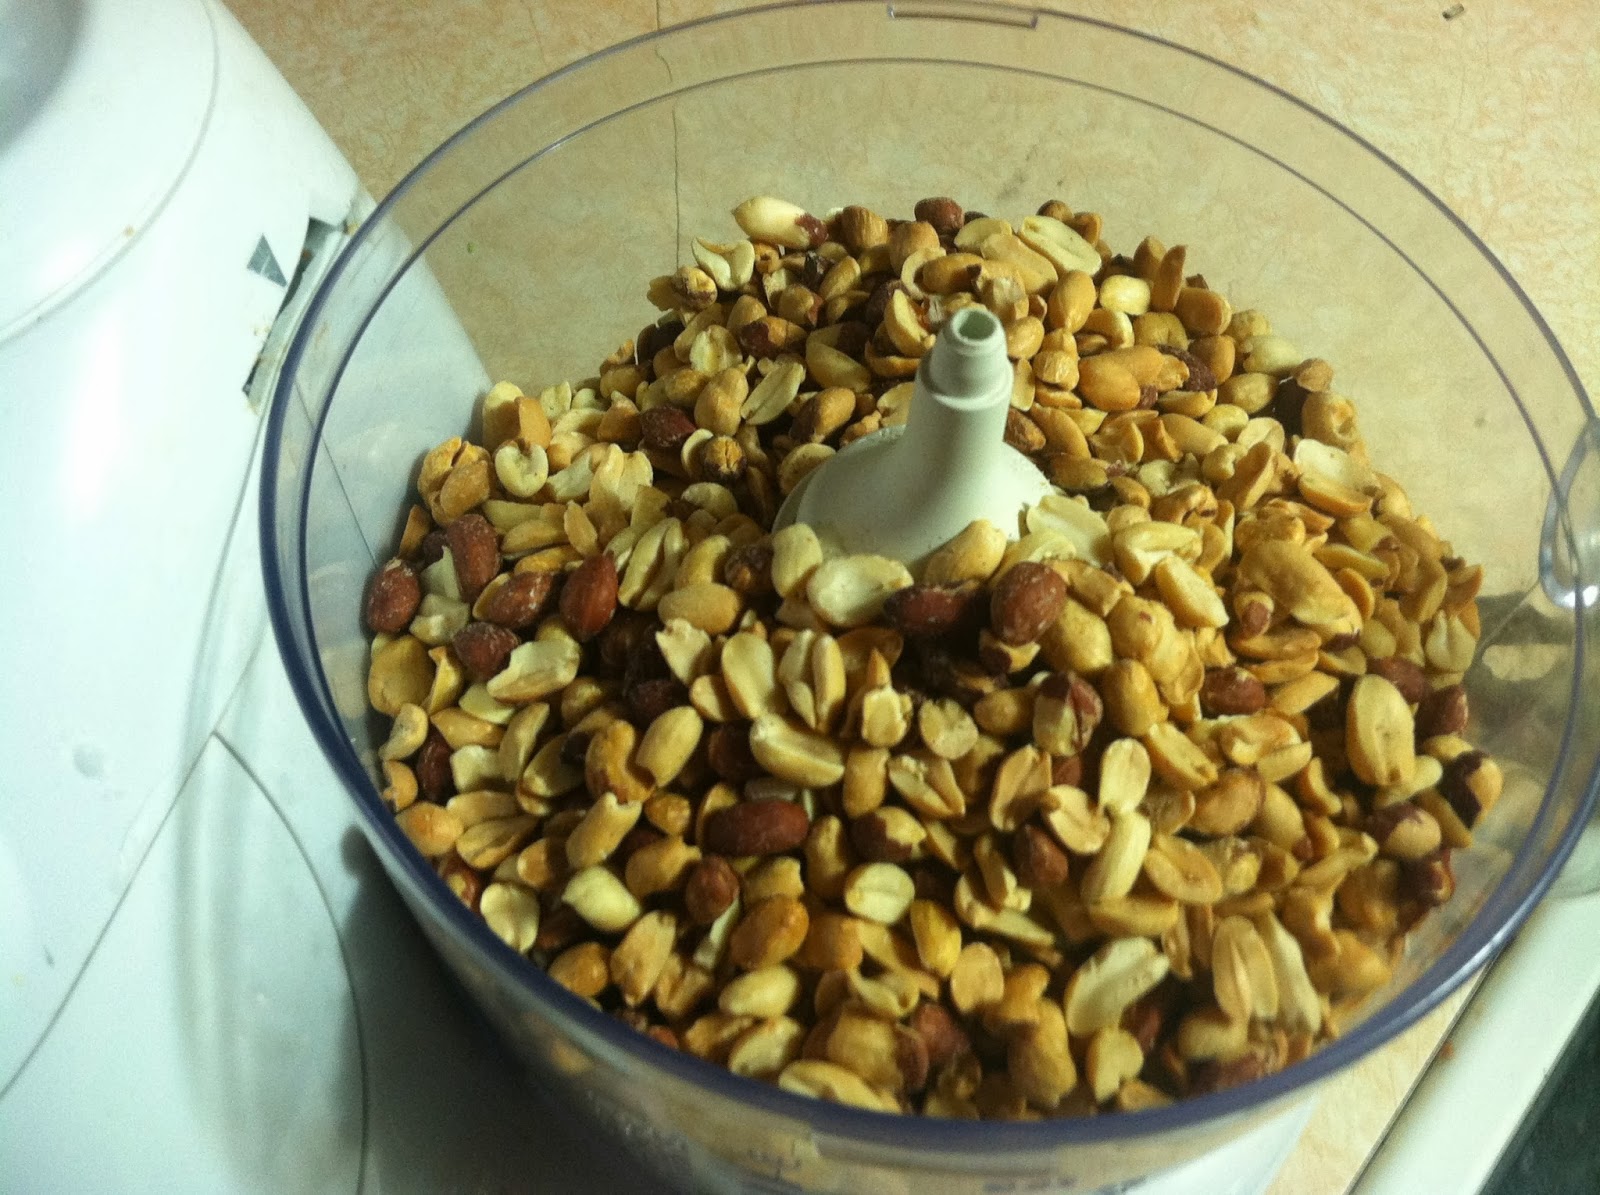
First you buy peanuts.  I buy them in bulk.


I then fill my food processor.


I turn it on.


I check it too see how it's going.  It looks like it's still a little chunkier than I like.


So I turn it back on until get my desired consistency.


I put it in jars and put it in the fridge.  I'm not sure how long it keeps.  I have never had it go bad on me, I've had it in the fridge for over 4 months.


And most importantly, you must have your son taste test your peanut butter.


He seems to approve.


You are now done.  I find it odd that this does not have any separation of the oil, like the natural peanut butter does.  You can also add some honey or maple syrup to mix if you would enjoy a slightly sweeter peanut butter.

How easy was that!?


Thursday, December 5, 2013

Planting Asparagus

In my package of trees I received, I got some Asparagus crowns (10).  I put them in the refrigerator until I had time to plant them.  I'm not sure if this is what I was supposed to do, but it made sense to me.  We will know in spring if I everything I did was correct.


The typical time to plant the crowns is Spring.  Well, I am not typical.  I also get excited easily.  And I like asparagus.  Put all these factors together and now I am planting them in fall.  From my understanding, it is okay to plant them Early Spring or Fall.  So here's what I did:

I grabbed the Maddox (for tranche digging) and my package of crowns:


I separated the individual crowns.  They are a year old.  Buying older Asparagus crowns instead of starting from seed will allow you to get Asparagus more quickly.   Also, Asparagus is a perennial which means we will get asparagus every year with limited extra work.


I dug a trench about 6 inches deep. I laid the crown in the trench and spread the roots out.  


Then, I sprinkled dirt over the roots.  Keeping the dirt loose, so that the asparagus can grow up easily.  If I were to plant them in Spring, I would sprinkle dirt about 3 inches deep.  Once you start to see the tops of your plant sprout through, add the remaining 3 inches of dirt.  Since it is Fall (almost Winter), I covered it up with all 6 inches of dirt.


After I planted all ten of the crowns in two rows I took a picture of the dirt for you to enjoy:


To the right of the trenches, you can see the pile of leaves.  I deep mulched the bed to feed the worms and to add nourishment to the garden during the winter.  Next year, I'm planning on using cover crops instead.


Monday, December 2, 2013

Luscious Landscaping

Chris and I moved into our home last January.  We have been here less than a year, but we are making great strides to make it our own.

The first item on which we are focusing is the landscaping outside.  We started with my garden, and we took down a tree that was too close to the house.  (I started to learn how to use an ax)


Please forgive my stance.  I am learning.  


It is important to me to plant trees, as well.  They are pretty, provide shade and help reduce erosion.  What if these trees are beautiful flowering trees that also provide food?  I would call that a bonus!

This spring I planted two pear trees and a fig tree.  We got figs, and we don't expect to get any pears for a few more years.

This fall, I added to our wannabe "Food Forest".  We planted an almond tree, two apple trees, a grape vine and two Paw-Paw Trees (a native Pennsylvania tree).  The almond, apple and Paw-Paw trees were bare-root trees.  I will describe how to plant these at another times.  The Paw-Paw trees produce an oblong fruit that reportedly has a creamy texture with a banana, vanilla, custard flavor.  I am excited to confirm this.

My husband was told that Paw-Paws attract a rare type of beautiful butterfly.

We also wanted shrubbery for the front of the house.  I wanted something pretty, and I wanted something yummy.  Blueberries are beautiful year-round and super yummy.

I went through a mail-order company.  We got all of our trees and our blueberries at once.  It took us six hours to plant everything.

The blueberry plants looked like this when we got them:


Here's the red one by itself (you can see how the beautiful red the leaves turn in the fall):


Here's one that's still green:


Now, dig a hole.  I like to dig it a little deeper and wider than the root ball.  That allows the roots to spread out and grow without having to fight through compacted soil.  Fill the hole with water, so your blueberry plant can take a long drink.


Now, tip the potted plant upside down and catch it as it slides out of it's pot.  If it feels a little stuck, massage the sides of the pot to try and loosen it.


Now you have a very compact root ball.


Break that rootball apart so that those roots can flourish and run free and be happy!!  I gently use my thumbs to break apart the ball.


It will no longer be as firm, but it will be ready to grow!


Now place the plant in the hole that you dug.  Line it up so that the soil of the top of the root ball is inline with the top of the ground.  If you plant it too deep, you may kill the plant, plant it too shallow and the erosion of the roots may get it.  The depth does not have to be perfect.  

Now fill in around with the loose dirt and push out any air pockets with your palms.


Now you have a planted blueberry bush, but we're not done yet!  Blueberries LOVE acidic conditions.  You can add supplements and peat most and sand until you get the ideal soil conditions, but that doesn't sound very simple to me.  A trick to get big juicy blueberries (as told to me to my dad who was told that from and old blueberry farmer) is to add some old rusty nails around your bush. 


 They love the iron.  As they rust down the plants eat it up.  Sounds good to me!

I don't want to disregard their love of acid altogether, so I have access to pine needles which are very acidic.


I added that beautiful mulch around my blueberries.  When it composts down, it will help to acidify my soil without me having to buy too much of anything!