Showing posts with label cooking. Show all posts

Monday, April 14, 2014

Simple Smoothie Recipe

Smoothies are a great way to get in your veggies, pro-biotics and minerals.  They are yummy, easy and even kids like them (well, mine does anyway).

Some basics for a smoothie are:

A blender:  I have a cheapo one.  I regret buying the cheapo one, and wish I would have purchased one that was a bit more sturdy, but it works.


Some greens:  This is an easy way to add greens to your diet.  You don't taste them, but they still pack a great nutritional wallop.  I use the really nutrient dense ones, such as kale or spinach.  You can use a lot.  I add 2 handfuls.


Frozen berries: maybe a cup.  This replaces any ice cubes you may otherwise have used and adds antioxidants and yumminess.


A dairy base: milk, kefir, Homemade Yogurt.  Some folks enjoy using almond or coconut milk.  That works as well, but I usually use milk and yogurt.  These ingredients are cheap, plentiful and local.  I used milk and yogurt, but use what makes you happiest.

Banana: I use one banana to give my smoothie a creamy consistency and sweetness.  I probably could have gone without this, as the yogurt already gives the drink a nice texture.


Finally, I add one tablespoon of black strap molasses.  This stuff packs a mineral punch, adds sweetness and a deeper flavor.  The molasses has calcium, iron and other trace minerals.


Now, blend it, pour,


and ENJOY!


This is a base that can be changed.  Remove the berries, the banana and molasses and add frozen peaches, vanilla, cinnamon and maple syrup.  This is a great healthy treat that you can have as a snack or meal.  YUM!! 

Monday, December 9, 2013

Homemade Peanut Butter

You can buy peanut butter in two ways at the grocery story, all chemically with added oils, salt and sugar.  Or you can buy the natural stuff.  It's $5 a jar and has some weird oil on top.  I actually don't mind the oil, but for about $2, you can makes your own.  You can add as much or as little salt in as you like. It is so easy.  I'm a little embarrassed to even post it.

First you buy peanuts.  I buy them in bulk.


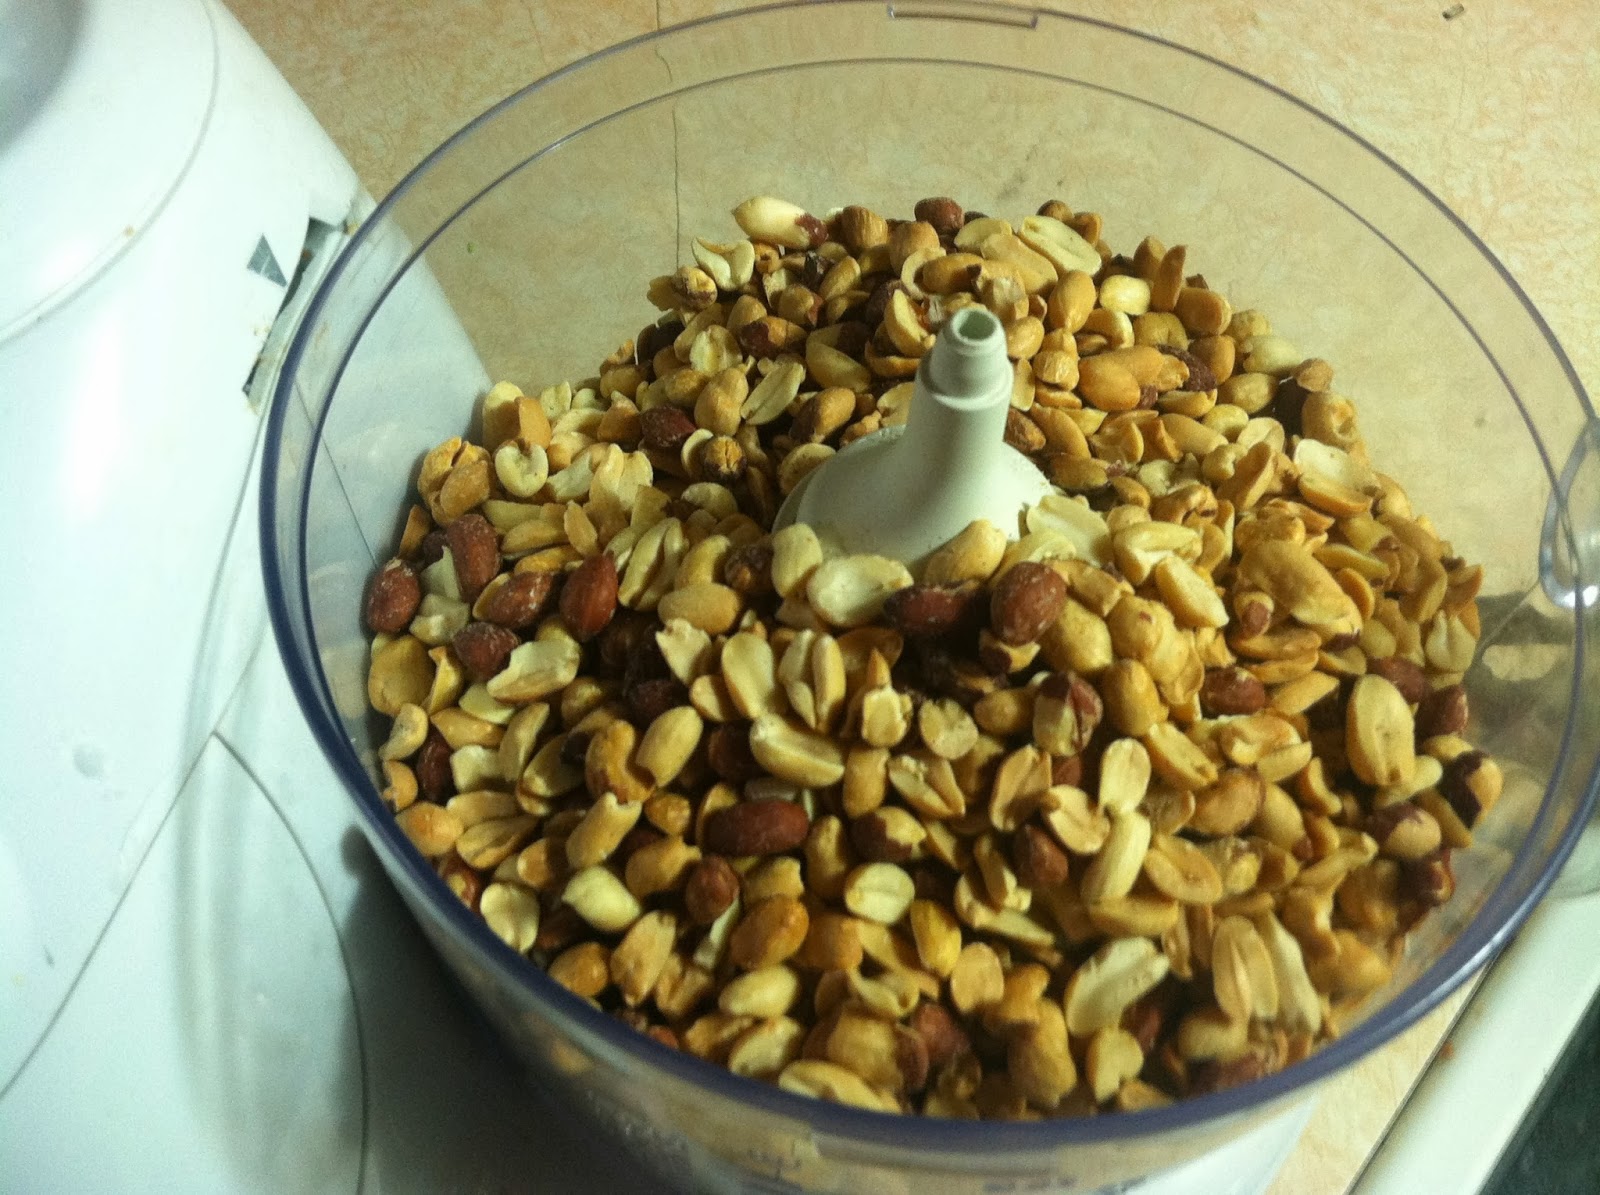
I then fill my food processor.


I turn it on.


I check it too see how it's going.  It looks like it's still a little chunkier than I like.


So I turn it back on until get my desired consistency.


I put it in jars and put it in the fridge.  I'm not sure how long it keeps.  I have never had it go bad on me, I've had it in the fridge for over 4 months.


And most importantly, you must have your son taste test your peanut butter.


He seems to approve.


You are now done.  I find it odd that this does not have any separation of the oil, like the natural peanut butter does.  You can also add some honey or maple syrup to mix if you would enjoy a slightly sweeter peanut butter.

How easy was that!?


Wednesday, November 27, 2013

Simple Dessert - Apple Crisp

Thanksgiving is tomorrow.  For dessert, I am making a simple apple crisp.  It is yummy, seasonal, and requires few ingredients.

I used local apples my husband picked up from the Farmer's Market today.  He told the man at the apple stand that I was making apple crisp, and the man loaded Chris's bag with "the perfect apples".  I believe they are Cortland apples.  They are rather tart, but that is what you are looking for in an apple when you are making a dessert with them.

The first step is quite tedious.  Peel, core and cut up the apples.  Normally, I don't like the use of kitchen gadgets, but after spending over an hour coring, peeling and quartering apples for apple butter I made earlier in the year, I decided to give this peeler a shot.  After all, it is still relatively simple in it's design.

First, I clamped the peeler to the table and stuck the apple on the prongs.


Then, I just turned the handle, and the apple was peeled and cored.


Now the apple is peeled and cored.  All I have to do is cut it up.


You can see the slices that it makes.  I still cut the apple up more before putting it in the pan.


Look, MA! No core!  I thought that was pretty neat.


As I go, I put all of the apples into my baking dish.  I don't grease the dish.  Remember, this is simple.  I then add a tablespoon or two of sugar.  Organic. 


Sprinkle some cinnamon over it.  If you really like cinnamon, use a lot.  It's really about what you like here.  Sprinkle some vanilla extract (please, I beg you, use the real stuff).  Not too much.  About a teaspoon.


Dot with butter.  I think I used about 2 tablespoons here.  I don't know why I did it.  I think because that is how my mom does it?


Now, we make the stuff that turns this from just baked apples to apple crisp.  The Crisp!!

I took about 6 Tablespoons of butter, 


Add some cinnamon, and about a half of a cup of all purpose flour.  (organic)


I add about that much salt.  (1/4 to 1/2 teaspoon)  It's really hard to mess this up.


Now add about 1/4 cup and 2 tablespoons of sugar.  The fun part is coming up!!


Get your hands in there an mash it up.  Get all the ingredients well combined with the flour.


It should look like this when it's done.


Sprinkle that on top of your apples and bake in a 350 degree oven for about 25 minutes or until it's nicely browned.


Take out of the oven and enjoy the yummy tastes in your mouth and smells in your house!