Showing posts with label DIY. Show all posts

Sunday, May 11, 2014

Make Your Own Watering Bulb

Recently, my mom bought me several plants for my birthday.  Two of these plants are Stevia, the natural herbal sweetener.  Stevia is hardy until 10 degrees F.  Temperatures any lower than that will kill the plant.  So I potted it.  My two stevia plants are living on my front porch.  I will bring them in when the weather becomes cold.

Chances are, as Spring turns to Summer, I may forget to water these awesome herbs.  So I thought a watering bulb would be a good idea.  You fill it with water, turn it upside down and it provides your potted plants a continuous amount of water.  The set it and forget it of plant care.

Aqua Globes AG011706 Glass Plant Watering Bulbs, 2-Pack

While I appreciate the ingenuity of this product, I don't spend money on things like that.  I will, however, steal their general idea.  I used something we happened to have around the house: a beer bottle.  I filled the beer bottle up with water, and sunk the neck into the dirt of the Stevia's pot.


If you have bigger pots, a wine bottle would also work for this.  I'm sure you could set these up in the garden, but that seems like a lot of work and maintenance and not really worth it.

Wednesday, April 9, 2014

Beautiful Shelf (for FREE!)

My husband is quite the talented fellow.  I talked earlier about how he built our chicken coop for under $50 using re-purposed materials.  Well, now he's at it AGAIN.  He used those same scraps from the local soda company.


The corners of these are held together with brackets, so he took his table saw to cut them out.  The remaining pieces are the boards he used to make my shelf.


He did his magic, like he does and produced this beautiful and rustic shelf.


The details from how it went from boards to the shelf is a little fuzzy for me.  Perhaps, if we get enough interest, I can get my talented husband to be a guest blogger and describe how he did this. 

We decided not to sand or paint anything.  We really like the rustic look this shelf has.  But if you prefer a more finished look, you can always sand and paint as desired.


Monday, December 16, 2013

Laundry Detergent

Laundry Detergent is so expensive.  Especially when you have cloth diapers to do.  Daily.  Thankfully, it is super easy to make your own.  It took me about 45 minutes to make 5 gallons of Laundry Detergent.  I think it cost me less than $7. Pretty amazing savings.

Here are the ingredients you need:


Rules of 2:
2 cups of Borax
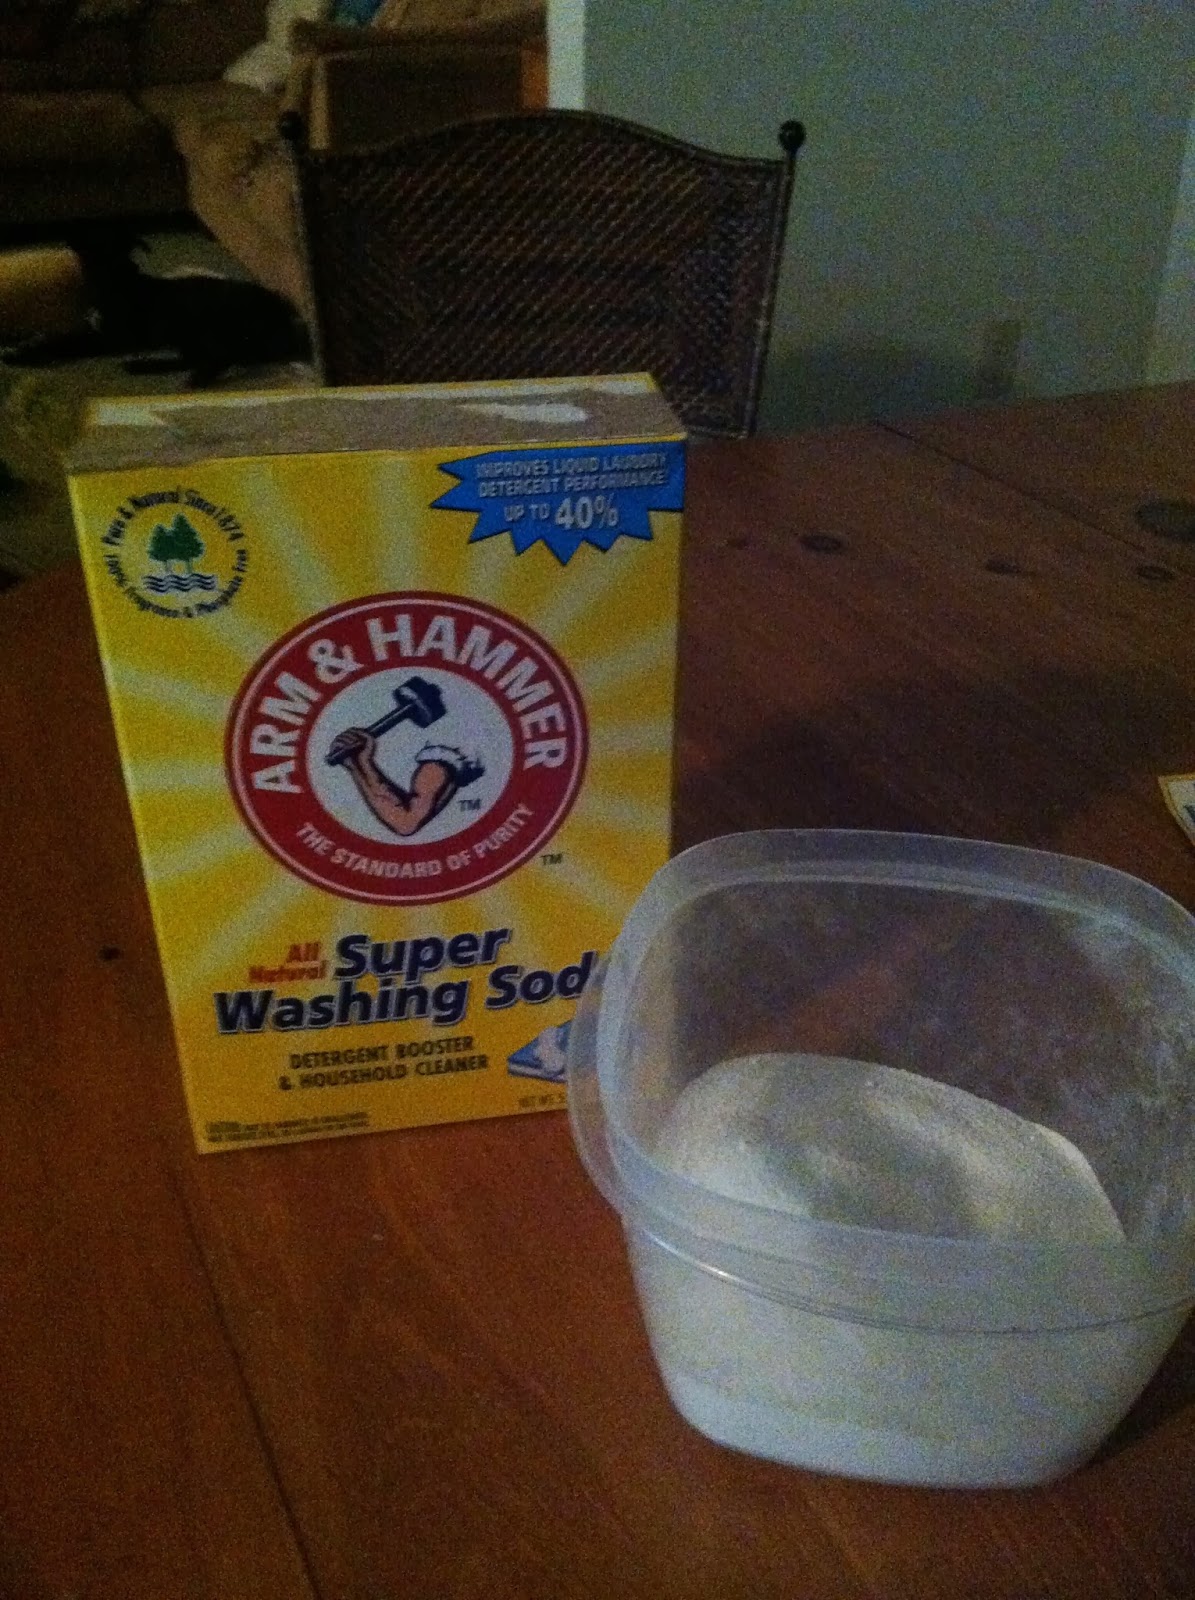
2 cups of Washing Soda
2 bars of Ivory soap (you can also use Fels Naptha, only use one bar)

You also need a bucket (of the 5 gallon variety):


First, Grate the soap.  You can use your food processor.  I did this while Jaxson was sleeping, so I grated this by hand:


I grated it directly into a pot. This save a step and a dish.  It's all about keeping it simple.


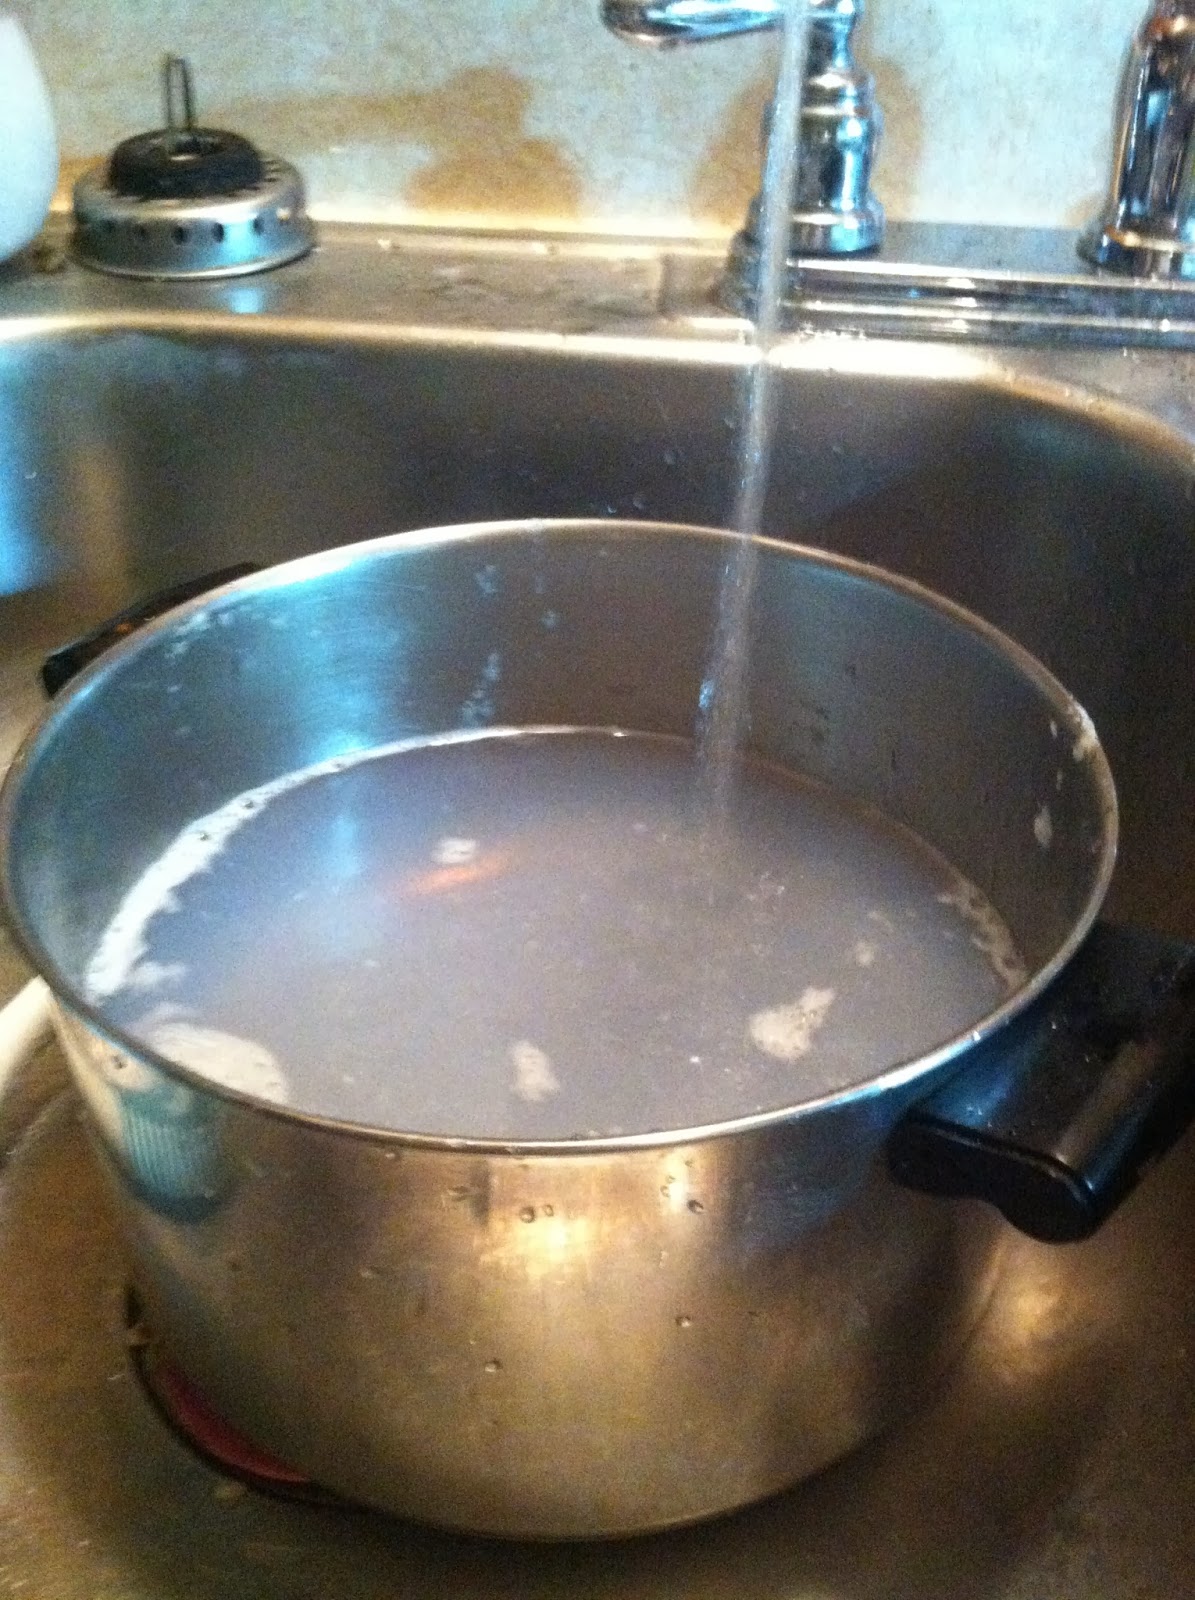
Cover the soap with water and bring to a gentle boil over low to medium heat.  Continue heat until the soap dissolves in the water.  Keep stirring so you don't burn the soap.  Another helpful hint, make sure you are using a large enough pot. I speak from experience: too small a pot and  it will boil over leaving an icky mess to clean up.  This is not simple.  


In your bucket, dump in the 2 cups of borax 


And two cups of the Super Washing Soda:


Dump in your liquefied soap.  Continue to add hot water to the bucket, using a whisk to stir as you go.  My sink has water that is hot enough to make this work.  Some may need to boil water.  You need it hot enough so that it is uncomfortable to put your hand in, but it won't burn you.
  

Fill this to the top.  Another helpful tip: Since you need to rinse out that pot, and you need to fill up your bucket, why not fill up the pot with hot water and dump that in your bucket? That's what I did, at least. A little two-for-one action.


Once that is filled and whisked you have your finished product:


Now we have a problem.  This is one heavy bucket.  Enter attractive man (AKA my husband, Chris) to carry it down to the washer.  


We store it using Aluminum foil as a lid.  I'm sure that there are more elegant solutions, but this is solution works for us.  When using it, you can fill up a regular detergent cup.  I would think its about half a cup.  Less works too.  

You may need to play with the amounts of ingredients depending on the hardness of your water.  You may also find that more or less detergent is needed for your needs.  


Monday, December 9, 2013

Homemade Peanut Butter

You can buy peanut butter in two ways at the grocery story, all chemically with added oils, salt and sugar.  Or you can buy the natural stuff.  It's $5 a jar and has some weird oil on top.  I actually don't mind the oil, but for about $2, you can makes your own.  You can add as much or as little salt in as you like. It is so easy.  I'm a little embarrassed to even post it.

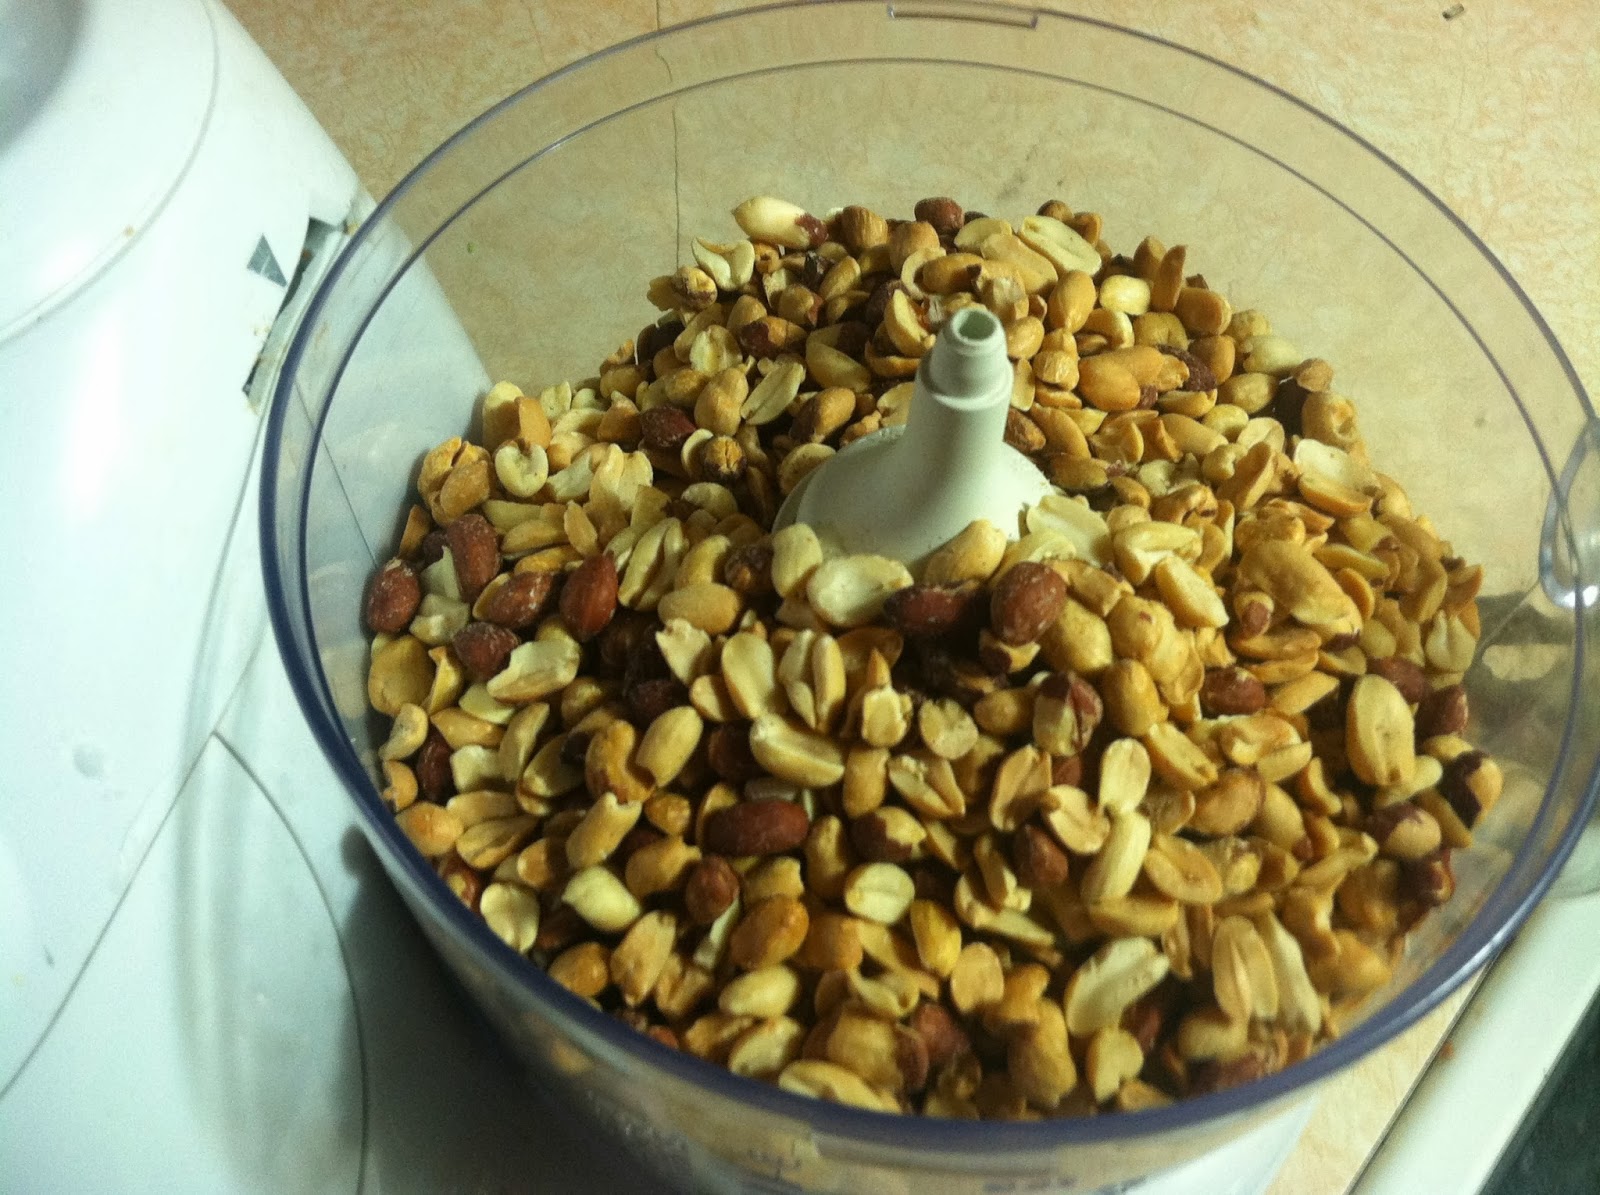
First you buy peanuts.  I buy them in bulk.


I then fill my food processor.


I turn it on.


I check it too see how it's going.  It looks like it's still a little chunkier than I like.


So I turn it back on until get my desired consistency.


I put it in jars and put it in the fridge.  I'm not sure how long it keeps.  I have never had it go bad on me, I've had it in the fridge for over 4 months.


And most importantly, you must have your son taste test your peanut butter.


He seems to approve.


You are now done.  I find it odd that this does not have any separation of the oil, like the natural peanut butter does.  You can also add some honey or maple syrup to mix if you would enjoy a slightly sweeter peanut butter.

How easy was that!?


Friday, October 4, 2013

Wash Line Paint Job

My husband constructed a wash line for me.  He told me I could paint it, and use any color I desired.  I love bright bold colors.  When I first bought a house, I painted my living room Barney The Purple Dinosaur purple.  When my husband moved in, we painted is orange with dark blue highlights.  It looked amazing.

The house we live in now has white walls, but I'm not ready for that project.  I have so many other projects that take priority.  (some of which you'll be reading about on here)

So I decided to pick many different pretty colors.  I painted the whole thing with a white outdoor  paint.  It looked, um...  ...well, it looked lame.  I have no pictures of the before or during, so you'll have to take my word for it.

I then used my selected colors, orange, pink, green and yellow (all which could be proceeded with the word "neon").  and painted large polka dots around the poles.  The tops I painted with slanted stripes. One top I painted with pink, and one with green.  The colors were sample indoor paints.  They were only $2.50 for a half pint.  After all that I sealed it with outdoor paint.

It looks as though Dr. Suess visited our house, and I love it!


So for $20 and 3 hours, I got a little piece of happiness every time I'm doing one of my chores.