Monday, April 7, 2014

Ode to the Dandelion

When most folks picture a beautiful lawn in spring time, they picture beautiful green grass with flowers tastefully decorating a few flower bed.  Since we are into simplicity, when I say some thing is tasteful, I generally mean in my mouth, not so much to my eyes.


One of the most tasteful things in my lawn is the beautiful dandelion.  I'm not sure why folks have such a strong dislike of the dandelion.  Aside from the fact that we are told dislike it, it is quite a pretty plant.  The flower is a beautiful happy yellow which turns into a cloud-like bunch of fluff which are ideal for wish making.  Children pick them and give them to their mothers.  And I find them to be aesthetically pleasing.


But they are so much more! In the beginning of spring, when the greens are still tender, you can pick them and eat them as an addition to a salad.  They have a bit of a bitter taste, but the younger you pick them the sweeter they are.  There is a traditional meal in the Pennsylvania Dutch region, that I used to abhor as a child, but with more grown tastes, I enjoy now.  You can enjoy with hot bacon dressing: Hot Bacon Dressing Salad Recipe

The Dandelion greens have phenomenal nutritional density.  They are: high in calcium, high in fiber, a great source of minerals, yummy, and cheap (free) in you yard.  One man made over $900 selling this "weed" he harvested from his garden to fine dinning establishments.

The yellow flowers are more than just pretty, they can be transformed into wine! This link will take you to a great instructional video on how to make this.  

We're not done with all the wonders of this plant (which some call a weed).  The roots are useful, too!  They make a coffee substitute.  You harvest them and roast them and grind them up to use as tea.  I have not tried this, as harvesting the roots is a lot of work, and I like to use all of other parts of the dandelion so much, I don't see the use.

Finally, they are awesome for your soil.  That long, thick root which seems impossible to remove fully from the ground helps break up compact soil.  It brings nutrients that are deep in ground up to the leaves.  When the leaves die, these nutrients are now at the top of the surface, more accessible to the surrounding plants.  Dandelions are an ideal companion plant in you garden.  I wouldn't plant any, but I would let few flourish to help feed the soil.

When I look at the yellow heads popping up in my yard in Spring, I don't get mad or reach for the weed killer.  I lick my chops for the free greens, give thanks for the beautiful flowers and smile to myself knowing that my lawn is getting healthier naturally.


Saturday, February 8, 2014

AHHH!! Attack of the ants! and how I deal with them.

I woke up this morning to quite an unpleasant sight.  Ants.  On my counter top.

UGH!

Not very appetizing.  Not very fun.

Luckily, I have a simple and cheap solution for these little pains.

Mix half Borax and half sugar and put it on a pile around where your ants like to congregate.


You can see the ants starting to eat this mixture up.  

Why does this work?  Why waste your sugar on this instead of using it for yummy cookies?

First, the overwhelming sweet sugar attracts them more than the Borax.  And ants are quite smart creatures.  They take some of the sweet goodness back to their nest, and first one of the worker ants tests it to make sure it is safe before they feed it to the queen.  A dead queen is a dead colony, and that's our goal.  

If we only kill those dang workers, more will come.  But if we kill the queen, the colony will collapse, and chaos will ensue for all that were not poisoned by the borax.  

So anyway, the worker ant tests this possible food source before letting the queen eat it, and they don't die either at all because they ate the sugar, or they die in a few days, as borax isn't fast working on their system.  They see this mixture is safe and they come in droves.  They feed their babies this (I realize I am now sounding evil, but I would rather poison these ants than using a strong enough poison that could ruin my nervous system, my family's nervous system and any pets and potentially seep into the ground water - albeit in limited quantities). 

Back to my evil plan, their whole colony collapses.  It is true that your ant problem will get worse before it gets better, it will be concentrated to the area where you laid your sweet traps, and it is a lasting healthy solution.

I had ants coming in from my front door, and I laid the borax/sugar mixture out to get 'em.  My dog ended up licking some up.  Not what I would recommend, but she is fine.  She didn't even get an upset stomach.   So it is relatively safe in limited quantities for dogs.

Hopefully you don't have ants, but if you do, now you have a simple and cheap way to deal with them.

Monday, December 16, 2013

Christmas chickens

We are all decorated for Christmas!! The most important part was decorating the coop of course!


I guess all the festivities caused one of the Easter Eggers to lay eggs out of joy!  We got our first blue egg, the one on the left is from a Silver Laced Wyandotte.


With all this festivities, we took Jaxson to see Santa for the first time.  What a festive time!


Laundry Detergent

Laundry Detergent is so expensive.  Especially when you have cloth diapers to do.  Daily.  Thankfully, it is super easy to make your own.  It took me about 45 minutes to make 5 gallons of Laundry Detergent.  I think it cost me less than $7. Pretty amazing savings.

Here are the ingredients you need:


Rules of 2:
2 cups of Borax
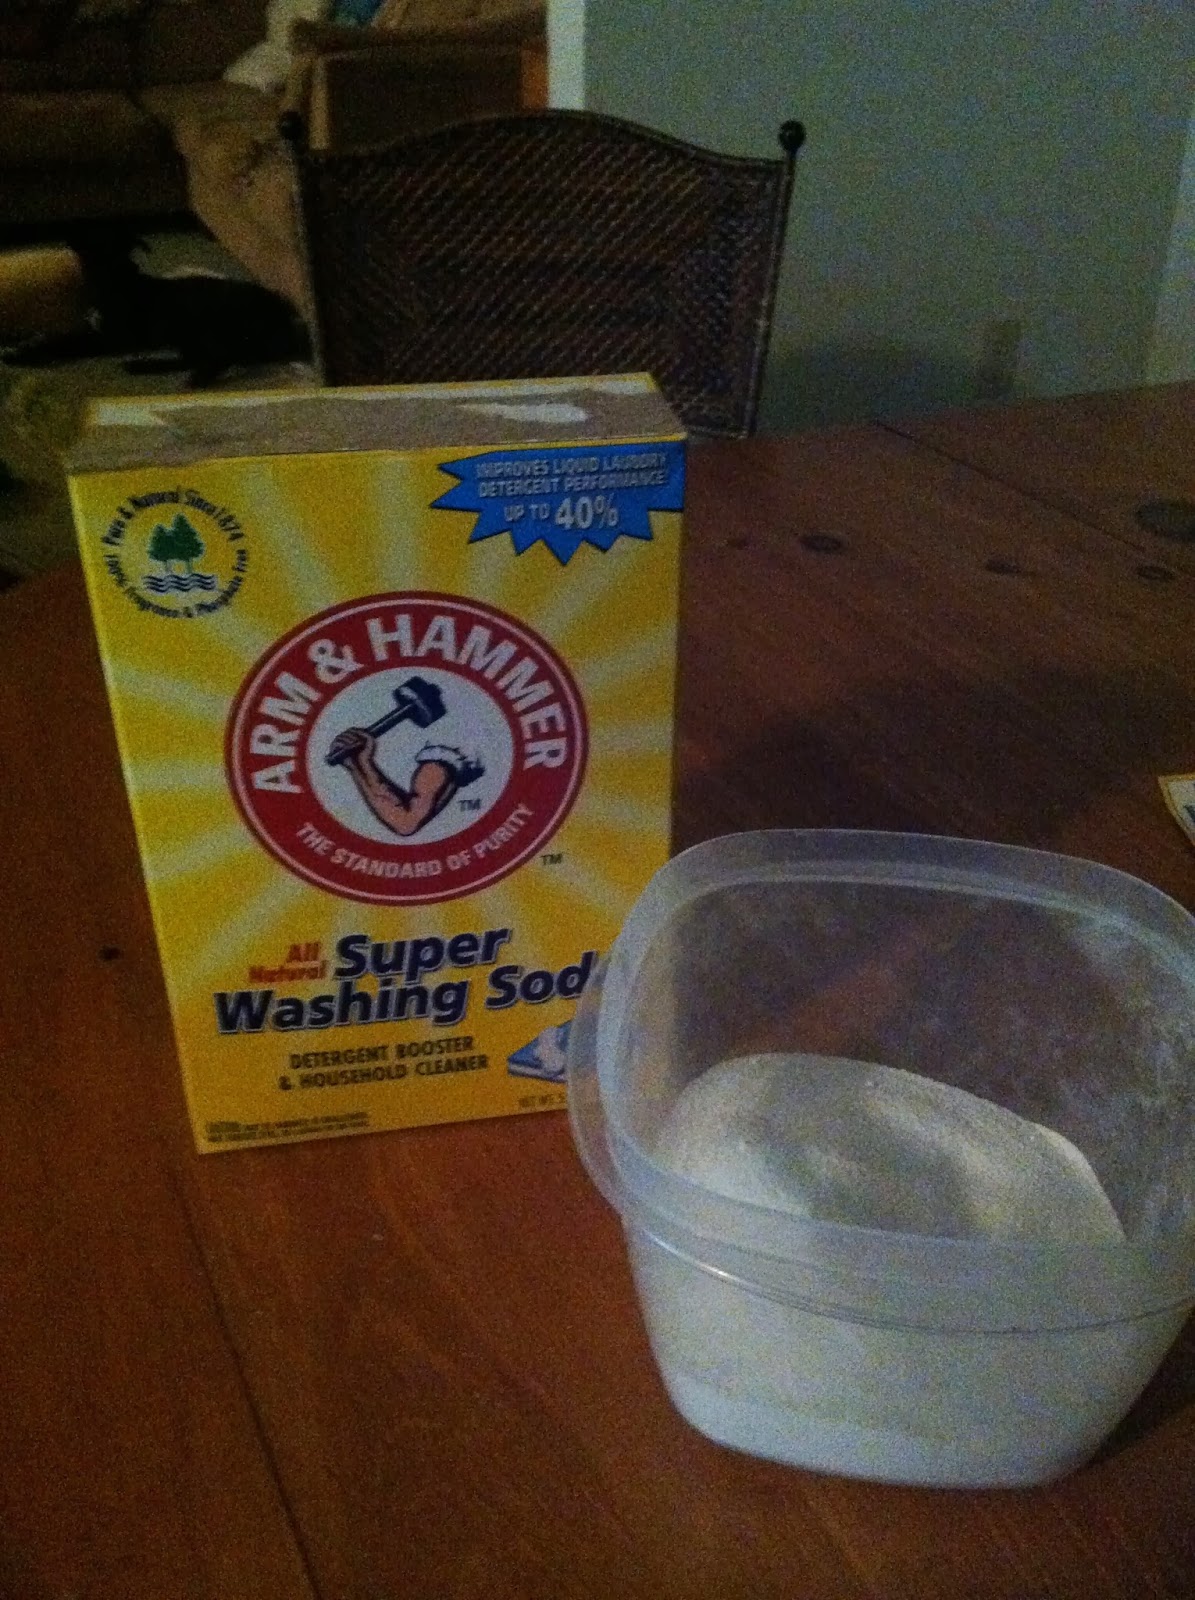
2 cups of Washing Soda
2 bars of Ivory soap (you can also use Fels Naptha, only use one bar)

You also need a bucket (of the 5 gallon variety):


First, Grate the soap.  You can use your food processor.  I did this while Jaxson was sleeping, so I grated this by hand:


I grated it directly into a pot. This save a step and a dish.  It's all about keeping it simple.


Cover the soap with water and bring to a gentle boil over low to medium heat.  Continue heat until the soap dissolves in the water.  Keep stirring so you don't burn the soap.  Another helpful hint, make sure you are using a large enough pot. I speak from experience: too small a pot and  it will boil over leaving an icky mess to clean up.  This is not simple.  


In your bucket, dump in the 2 cups of borax 


And two cups of the Super Washing Soda:


Dump in your liquefied soap.  Continue to add hot water to the bucket, using a whisk to stir as you go.  My sink has water that is hot enough to make this work.  Some may need to boil water.  You need it hot enough so that it is uncomfortable to put your hand in, but it won't burn you.
  

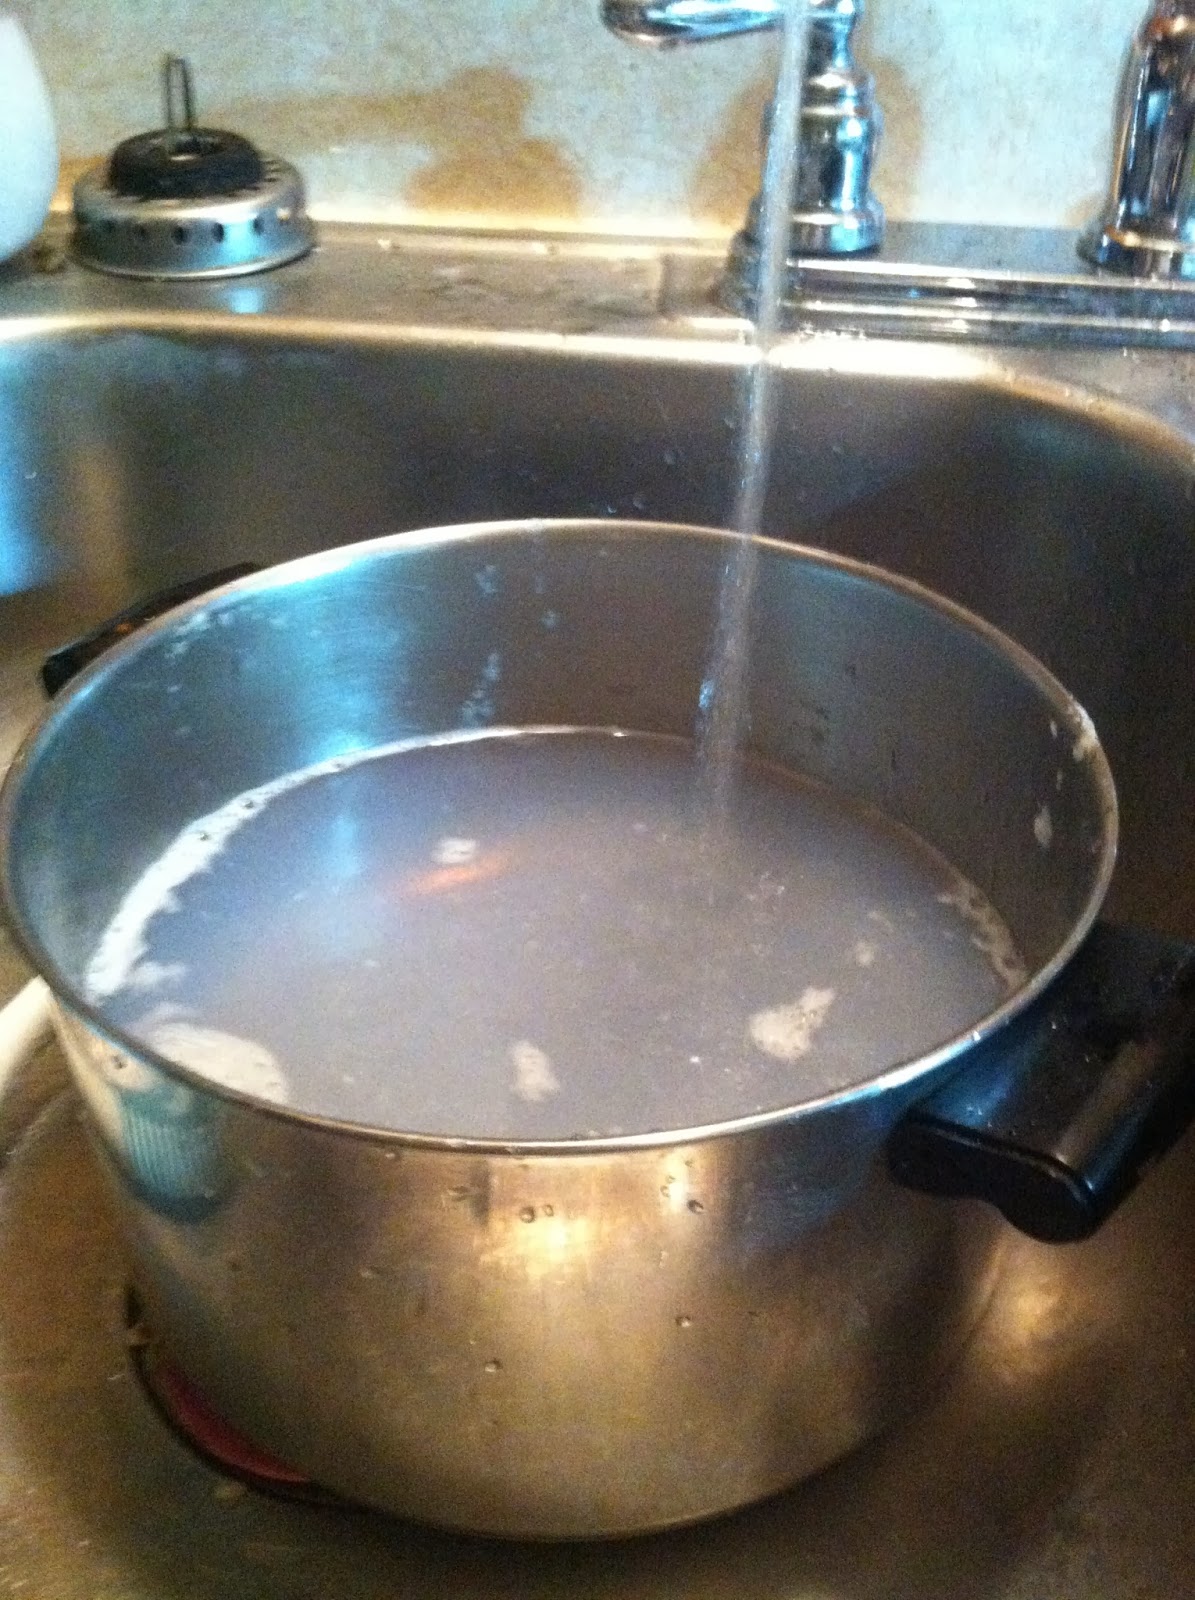
Fill this to the top.  Another helpful tip: Since you need to rinse out that pot, and you need to fill up your bucket, why not fill up the pot with hot water and dump that in your bucket? That's what I did, at least. A little two-for-one action.


Once that is filled and whisked you have your finished product:


Now we have a problem.  This is one heavy bucket.  Enter attractive man (AKA my husband, Chris) to carry it down to the washer.  


We store it using Aluminum foil as a lid.  I'm sure that there are more elegant solutions, but this is solution works for us.  When using it, you can fill up a regular detergent cup.  I would think its about half a cup.  Less works too.  

You may need to play with the amounts of ingredients depending on the hardness of your water.  You may also find that more or less detergent is needed for your needs.  


Monday, December 9, 2013

Homemade Peanut Butter

You can buy peanut butter in two ways at the grocery story, all chemically with added oils, salt and sugar.  Or you can buy the natural stuff.  It's $5 a jar and has some weird oil on top.  I actually don't mind the oil, but for about $2, you can makes your own.  You can add as much or as little salt in as you like. It is so easy.  I'm a little embarrassed to even post it.

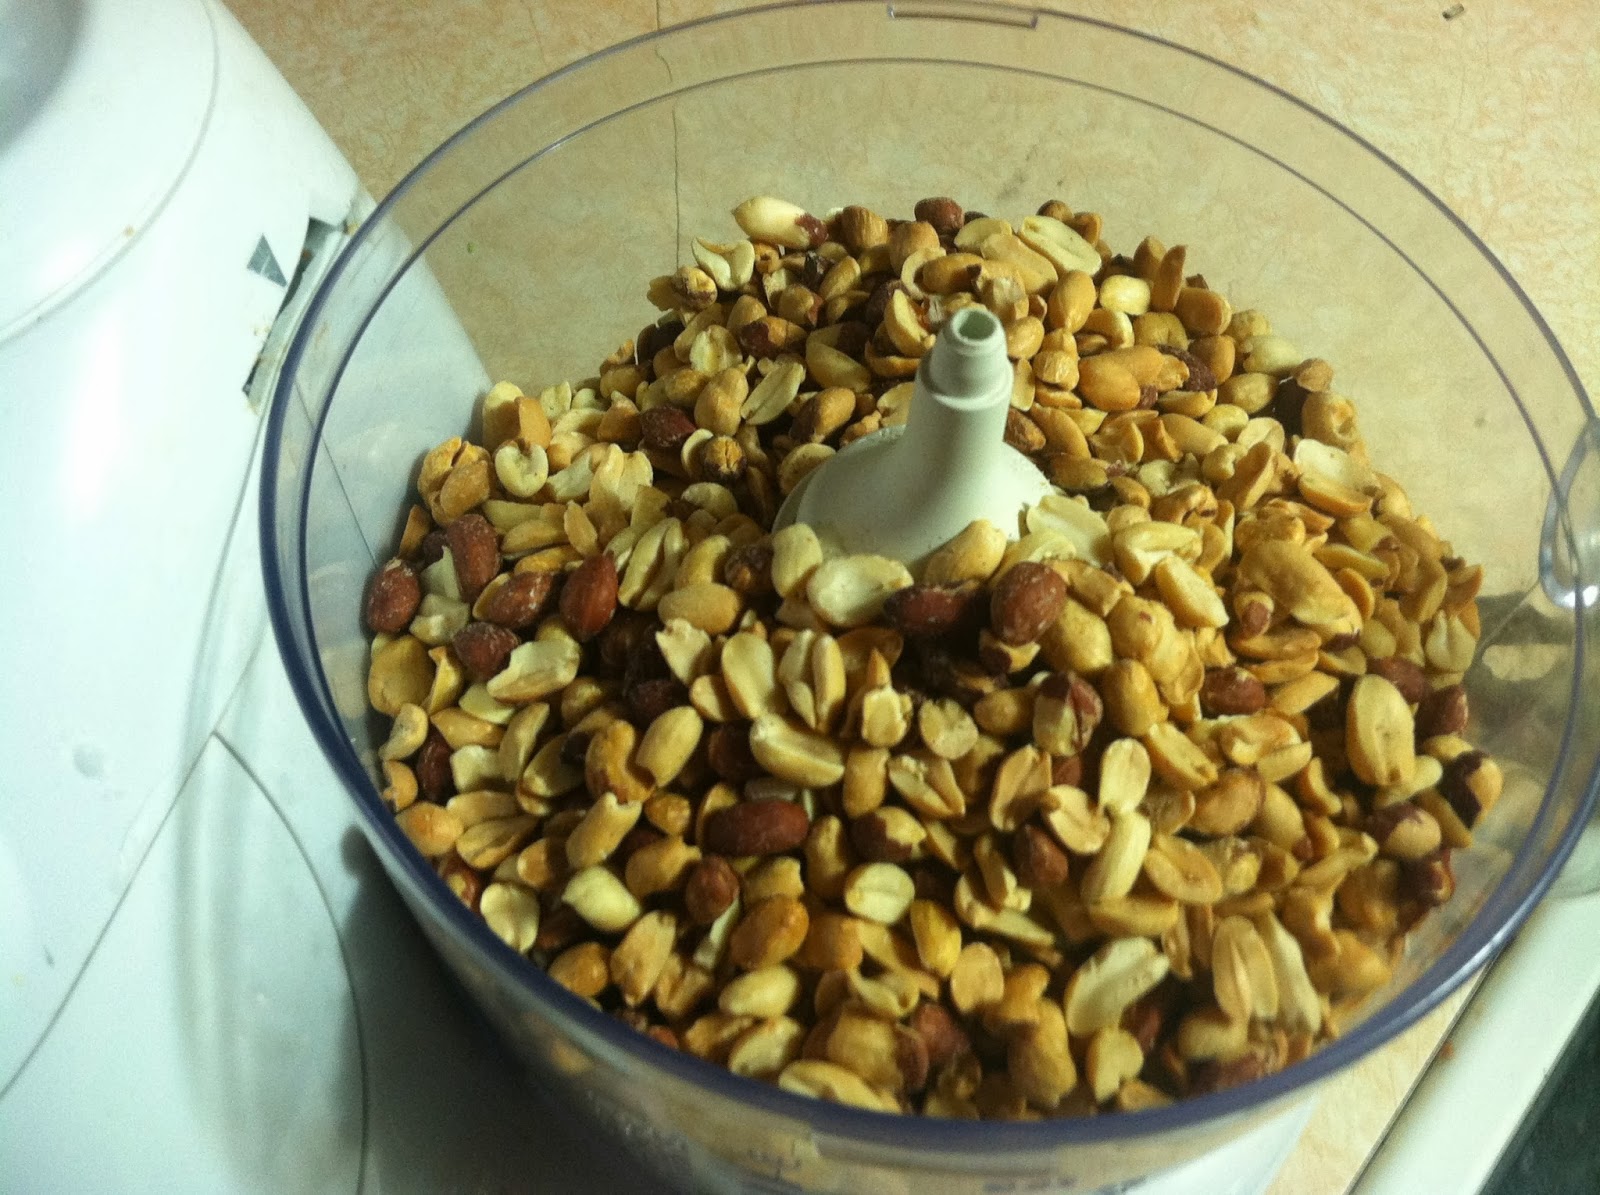
First you buy peanuts.  I buy them in bulk.


I then fill my food processor.


I turn it on.


I check it too see how it's going.  It looks like it's still a little chunkier than I like.


So I turn it back on until get my desired consistency.


I put it in jars and put it in the fridge.  I'm not sure how long it keeps.  I have never had it go bad on me, I've had it in the fridge for over 4 months.


And most importantly, you must have your son taste test your peanut butter.


He seems to approve.


You are now done.  I find it odd that this does not have any separation of the oil, like the natural peanut butter does.  You can also add some honey or maple syrup to mix if you would enjoy a slightly sweeter peanut butter.

How easy was that!?


Thursday, December 5, 2013

Planting Asparagus

In my package of trees I received, I got some Asparagus crowns (10).  I put them in the refrigerator until I had time to plant them.  I'm not sure if this is what I was supposed to do, but it made sense to me.  We will know in spring if I everything I did was correct.


The typical time to plant the crowns is Spring.  Well, I am not typical.  I also get excited easily.  And I like asparagus.  Put all these factors together and now I am planting them in fall.  From my understanding, it is okay to plant them Early Spring or Fall.  So here's what I did:

I grabbed the Maddox (for tranche digging) and my package of crowns:


I separated the individual crowns.  They are a year old.  Buying older Asparagus crowns instead of starting from seed will allow you to get Asparagus more quickly.   Also, Asparagus is a perennial which means we will get asparagus every year with limited extra work.


I dug a trench about 6 inches deep. I laid the crown in the trench and spread the roots out.  


Then, I sprinkled dirt over the roots.  Keeping the dirt loose, so that the asparagus can grow up easily.  If I were to plant them in Spring, I would sprinkle dirt about 3 inches deep.  Once you start to see the tops of your plant sprout through, add the remaining 3 inches of dirt.  Since it is Fall (almost Winter), I covered it up with all 6 inches of dirt.


After I planted all ten of the crowns in two rows I took a picture of the dirt for you to enjoy:


To the right of the trenches, you can see the pile of leaves.  I deep mulched the bed to feed the worms and to add nourishment to the garden during the winter.  Next year, I'm planning on using cover crops instead.


Wednesday, December 4, 2013

Our First Eggs

Yay!! Our old girls (two asides: 1 - by old I mean 6 months old, 2 - probably just one, right now) laid her first egg!! It was a long time coming.  I have read that they should start laying around 4 months.  Again, these girls are illiterate.  Or they just don't read the things I am reading.  Either way, I got my first egg on Sunday, December 1.

We can tell that the egg is not from the Easter Eggers.  They are supposed to lay colorful eggs.  Blue or Pink or somewhere in between.  This is a brown egg.  So it was either from Betty ( my old Jersey Giant, my favorite) or Psycho (Silver Laced Wyandotte)

In the picture below, the egg on the left is from one of our beloved chickens, the one on the right was bought from our Egg Lady.  You can see the size difference.  As the chicken grows and matures, the eggs she produces will get bigger as well.


Chris and I have not enjoyed our homegrown eggs, but Jaxson has.  He enjoyed our first egg as a bedtime snack.  And he seemed pretty happy about it. Chris and I look forward to eating our chickens' eggs as they come.  The picture is grainy, so my apologies, but the little man in it is so adorable.  That more than makes up for it.